What I Did
Overview
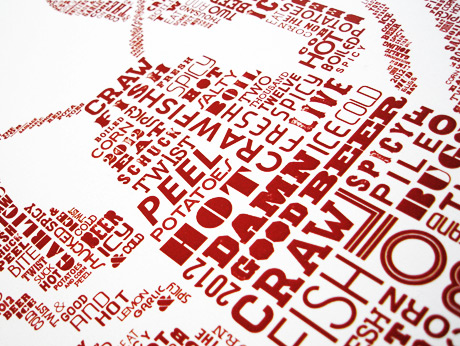
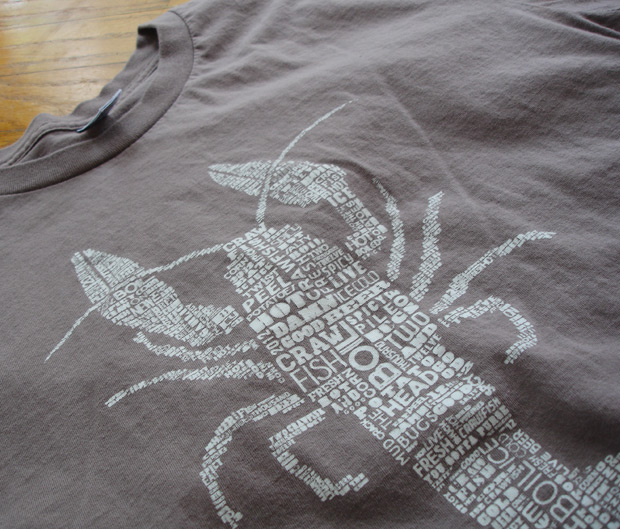
Every year I create some paraphernalia for one of the best gatherings of old and new friends a guy could ask for. The spectacular event I’m referring to is of course our annual crawfish boil, which is now in it’s 6th year. It is essentially a big gathering of a collective group of around 60 friends and family centered around 250lbs of steaming, spicy crawfish. I take it upon myself every year to create the swag for the gathering and this year I pulled out all the stops with a word art design of a wiggling crawfish that was brandished on posters, t-shirts, aprons, and into wood.
What I Used
Wood // Iron-on T-shirt Paper // Iron // Design gumption // Stain // Polyurethane
How I Did it.
Adhering
1. Get iron-on transfer paper for clear shirts (it is very important to get clear since it is semi transparent)
2. Reverse image in photoshop or another image program
3. Print image onto transfer paper
4. Choose a piece of wood. I had some MDF laying around so I cut it into paper-sized blocks with a circular saw. MDF is good because it is relatively smooth and will take the transfer paper well.
5. Use some scissors or an exact-o knife to cut out as much of the white paper that didn’t get printed on as you can. This will lessen the amount of time you spend on the next step.
6. Place your iron on transfer wax down (the side the image is on, duh) and put a thin piece of cloth over it so you don’t burn the wood and ruin the finish. Now push down firmly on the transfer paper starting in one spot and hold it there for a while. Basically you can kind of feel the wax starting to adhere, then start to slowly move around to adhere the rest of the wax. Do this until the paper is firmly adhered to the wood. This process can take a while.
7. Once you think it is fully adhered, peel away the upper layer of the paper and your design should be adhered into the wood. Pretty cool huh? This doesn’t always go completely smooth, but after you do it a few times and you will get the hang of it.
Finishing
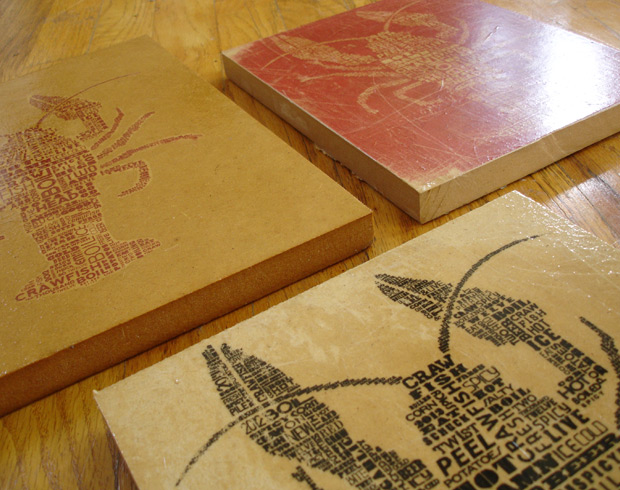
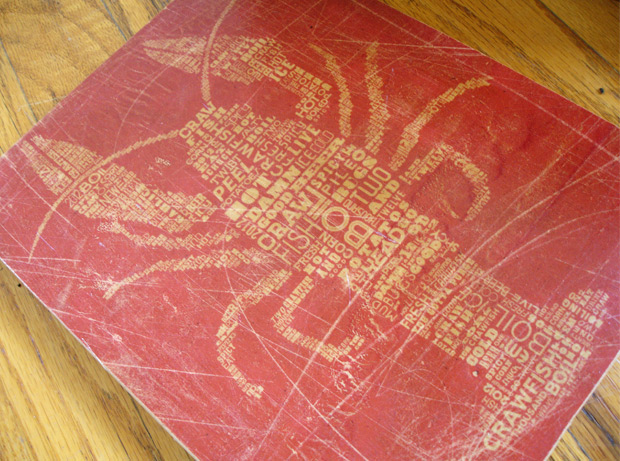
So I tried a few things here with the 3 versions I created. I wanted to see how they would look roughed up so I rubbed the black version and the all red background version on my driveway until they were distressed how I wanted them. Then I cleaned them off and put a few coats of polyurethane on them to make them shine.
I stained the red version with a combo stain and poly product but wasn’t that happy with the results so I wouldn’t recommend products like that for something like this.
For this part just play around with finishing products and find out what you like. Now go play.
Finished Product