What I Did
Overview
The game’s name Cornhole isn’t because the inventors loved Beavis and Butthead, but instead from the fact that the bags you throw to try to get into the hole are usually filled with corn. This was a particularly fun project because of some new tools I got to try out. For the look of them I was trying to make them resemble the style of the old Chris Craft boats and give the boards an Americana feel.
What I Used
Wood of your choice // Wood Screws // Power Drill // Miter Saw or Circular Saw // Jig Saw // 6” hole saw bit // 8 – 4” Bags // Lag bolts, wing nuts, and washers // Paint, stain, and spar-urethane // 5/8” wood plugs
How I Did it.
I wanted to use a smooth light wood for this project for a few reasons – the wood needs to be very smooth so the bags slide easily and and I wanted a wood that would take the stain color I was using well.
I opted for a 24” x 48” white pine for the tops and 1.5”x2.5” light yellow pine for the sides. I used some primary red and blue paints I found and a Golden Walnut stain and went with a high-gloss spar-urethane to finish it off and give it that shiny boat look to mimic the Chris Craft style.
1. I cut the light yellow pine 1.5×2.5s to lengths of 48” and 24″. I needed 4 – 48” pieces and 4 – 24” pieces for the the base. I decided to cut the ends at 45 degree angles and join them for a classier look. ( If you haven’t ever used a miter saw to make 45 degree angles, practice on some scrap wood a little to get the hang of it. It isn’t super complicated, but to make it look good you might need a little practice.)
2. I then joined 2 of my 48″ pieces with 2 of my 24″ pieces with 3 inch wood screws and wood glue for added support to make 2 – 48” x 24” x 4” bases.
3. Next, I put the white pine plywood tops on the newly assembled bases and attached them with the 3 inch screws. I needed to drill pilot holes with a counter-sink bit so that the screws will be far enough in the wood so I could add the 5/8 wood plugs over the screws to make a flush finish with the top of the wood. The reason for this is I wanted a nice smooth finished top and you don’t see any screws.
4. I put the wood plugs in all the holes after I screwed everything together. The plugs will not go in all the way by hand. I had to use a hammer and a spare piece of wood over the raised plugs to hammer them flush with the top. You want to use the spare piece of wood to not damage the top of the wood with your hammer.
5. Now that I had my tops completely assembled, I needed to use my power drill to cut my 6” holes with my 6” hole saw bit. The hole center needed to be 9” from the top of the board and 12” from the sides, so I did some measuring, found my center point and began the drilling. (This is a very long process and needs to be taken very slowly and cautiously or you will mark up your boards accidentally if the hole saw jerks around when it catches in the wood occasionally.)
All that is left for assembly now is attaching the legs with the bolts, washers, and wing nuts.
7. I cut the legs to 15.5”, cut one side at a 45 degree angle so they will sit flush on the ground, and used a jig saw to round the other side so it can move freely back and forth once attached to the base.
8. Next I held one leg at a time with clamps on the under side of the base of the boards to drill pilot holes for the bolts. The bolts, washer, and wing nut should go in like this bolt, washer, wood, another washer, wood, wing nut. The bolts went in fairly easily, but did have to use my hammer to tap them in all the way. ( The top of the board should be 12” tall.)
9. Now that I had the boards fully assembled I used a handheld sander to sand the boards and legs smooth, starting with an 80 grit sandpaper, then a 120 grit, and then finished off with a 220 grit for that super smooth finish.
10. Next I was ready to make the boards pretty. I used pre-stain conditioner and let it set in for about 15 minutes and then put on the Golden Walnut stain. Once it dried I applied 1 more coat.
11. I used painters tape to make the straight lines for the paint and 1 coat of paint for both the blue and the red since they looked pretty covered with just the single coat. I pealed the tape off before the paint dried so the lines were nice and clean.
12. After the paint had fully dried, I put on 3 coats of urethane. Be sure to allow each coat to dry and not be too liberal with each coat so the urethane doesn’t clomp up.
13. I made these a few days before the 4th of July so they were ready to be freely used all day.
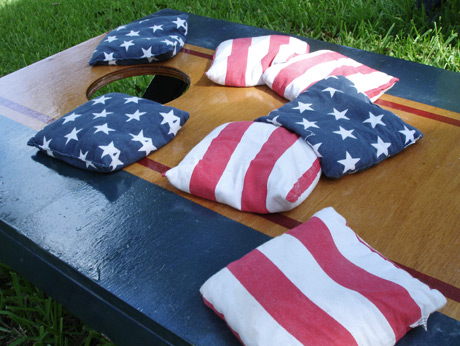
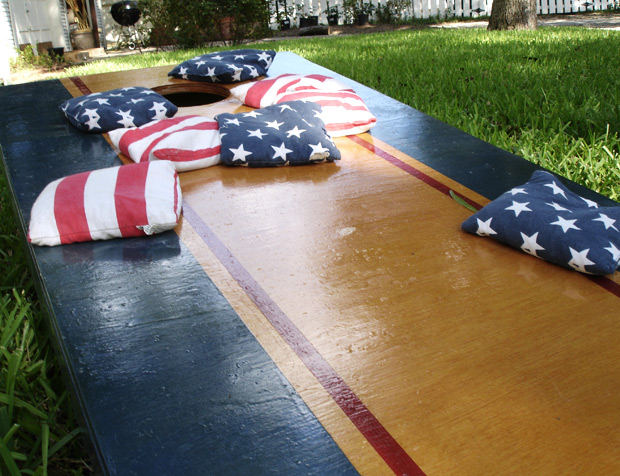
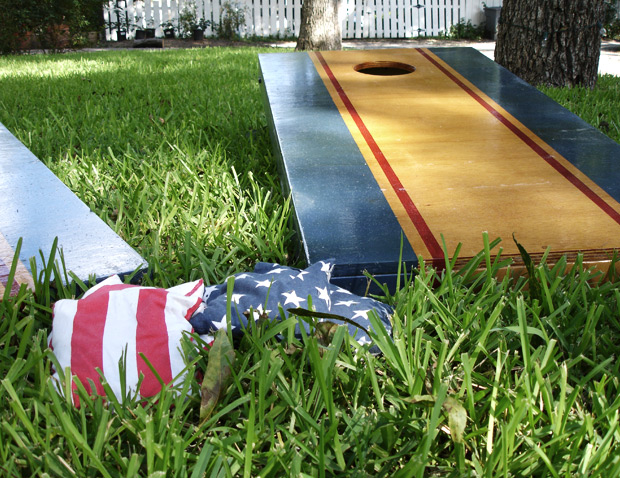
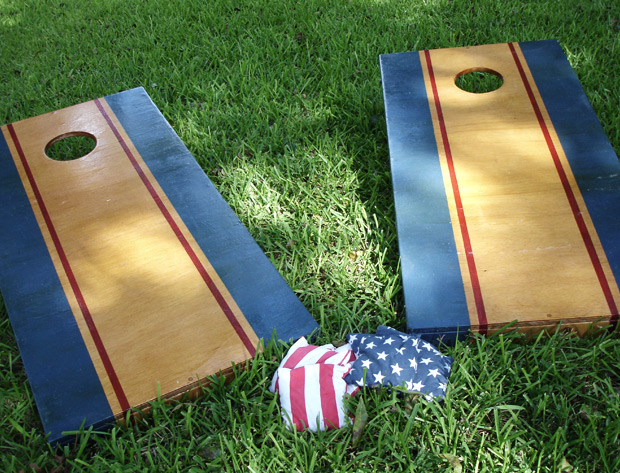
Finished Product